To create a Save The Date Invitation, all you need to do is hide the pages that you don't want to show on your Save The Date. This would include pages like the RSVP page and the Event Details page.
You can decide if you would like to use one of the pre-designed themes or if you would like to create your own custom design. To create a custom theme, click here.
- If you decide to create your own custom theme, click on the Design dropdown on the Main Menu and then click on Theme.

Now you will be hiding the pages that you don't need on the Save the Date Invitation.
- On the Dashboard you will see all the buttons for each of your website pages. Below each button there is a tick box. If ticked, the page will be visible to your guests, if there is no tick, the page will be hidden from your guests. Even if a page is hidden from your guests, you will still be able to edit the page content and design.

- If a page is visible on your website, the icon will be green. If a page is hidden from your website, the icon will be pink.

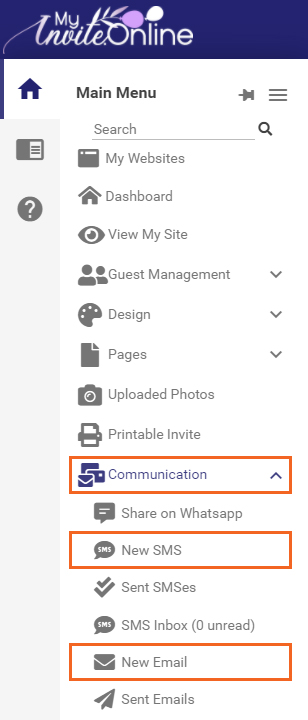
- After you have hidden the pages you wanted, you can send an email or SMS with a link to your Save The Date Invitation, to all your guests.
- On the Main Menu, click on New SMS or New Email under the Communication dropdown.
- The following New Guest SMS table will be displayed.
- You can decide if you want to include all guests or only certain guests as recipients of the SMS or email.
NEW GUEST SMS

NEW GUEST EMAIL
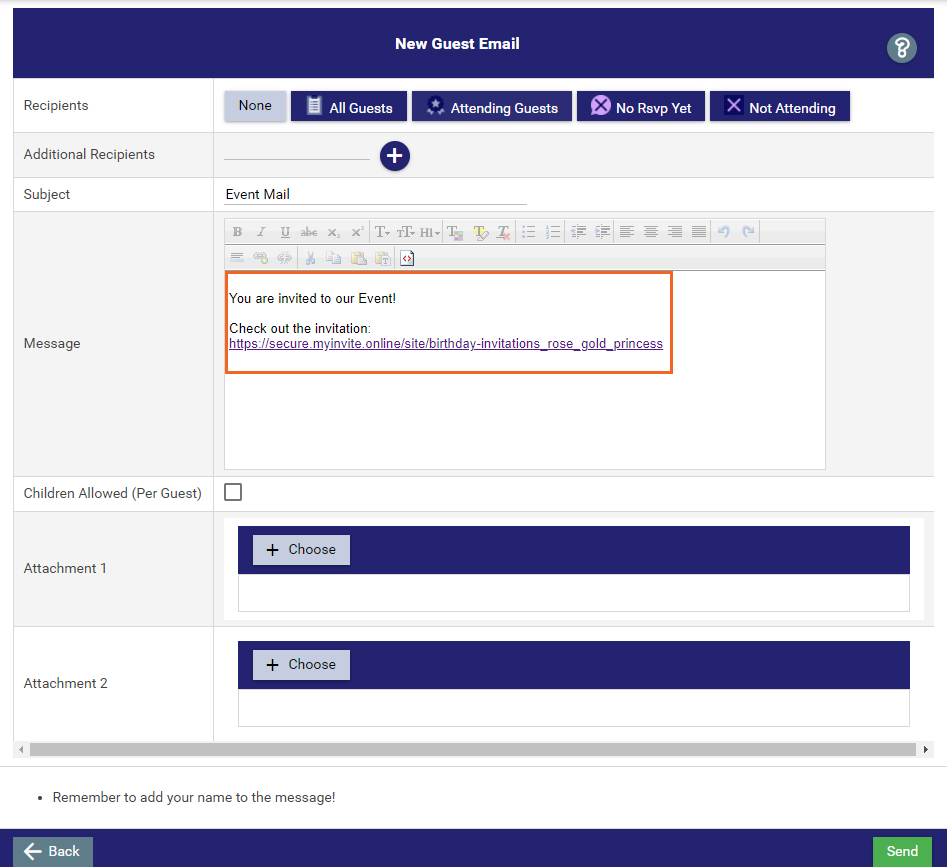
- Automatically the link to your website will be added to the SMS or email. Your guests will receive the SMS or email with your event website link. Guests will be able to access your Save The Date Invitation.
- Example of Save The Date Invitation.
